
 MY basket
When it comes to home improvement projects, one of the most common concerns is time. Homeowners and builders alike want to know how long a particular job will take, especially when it involves working at height, affecting the building envelope, or coordinating with other trades. Roof lanterns are no exception.
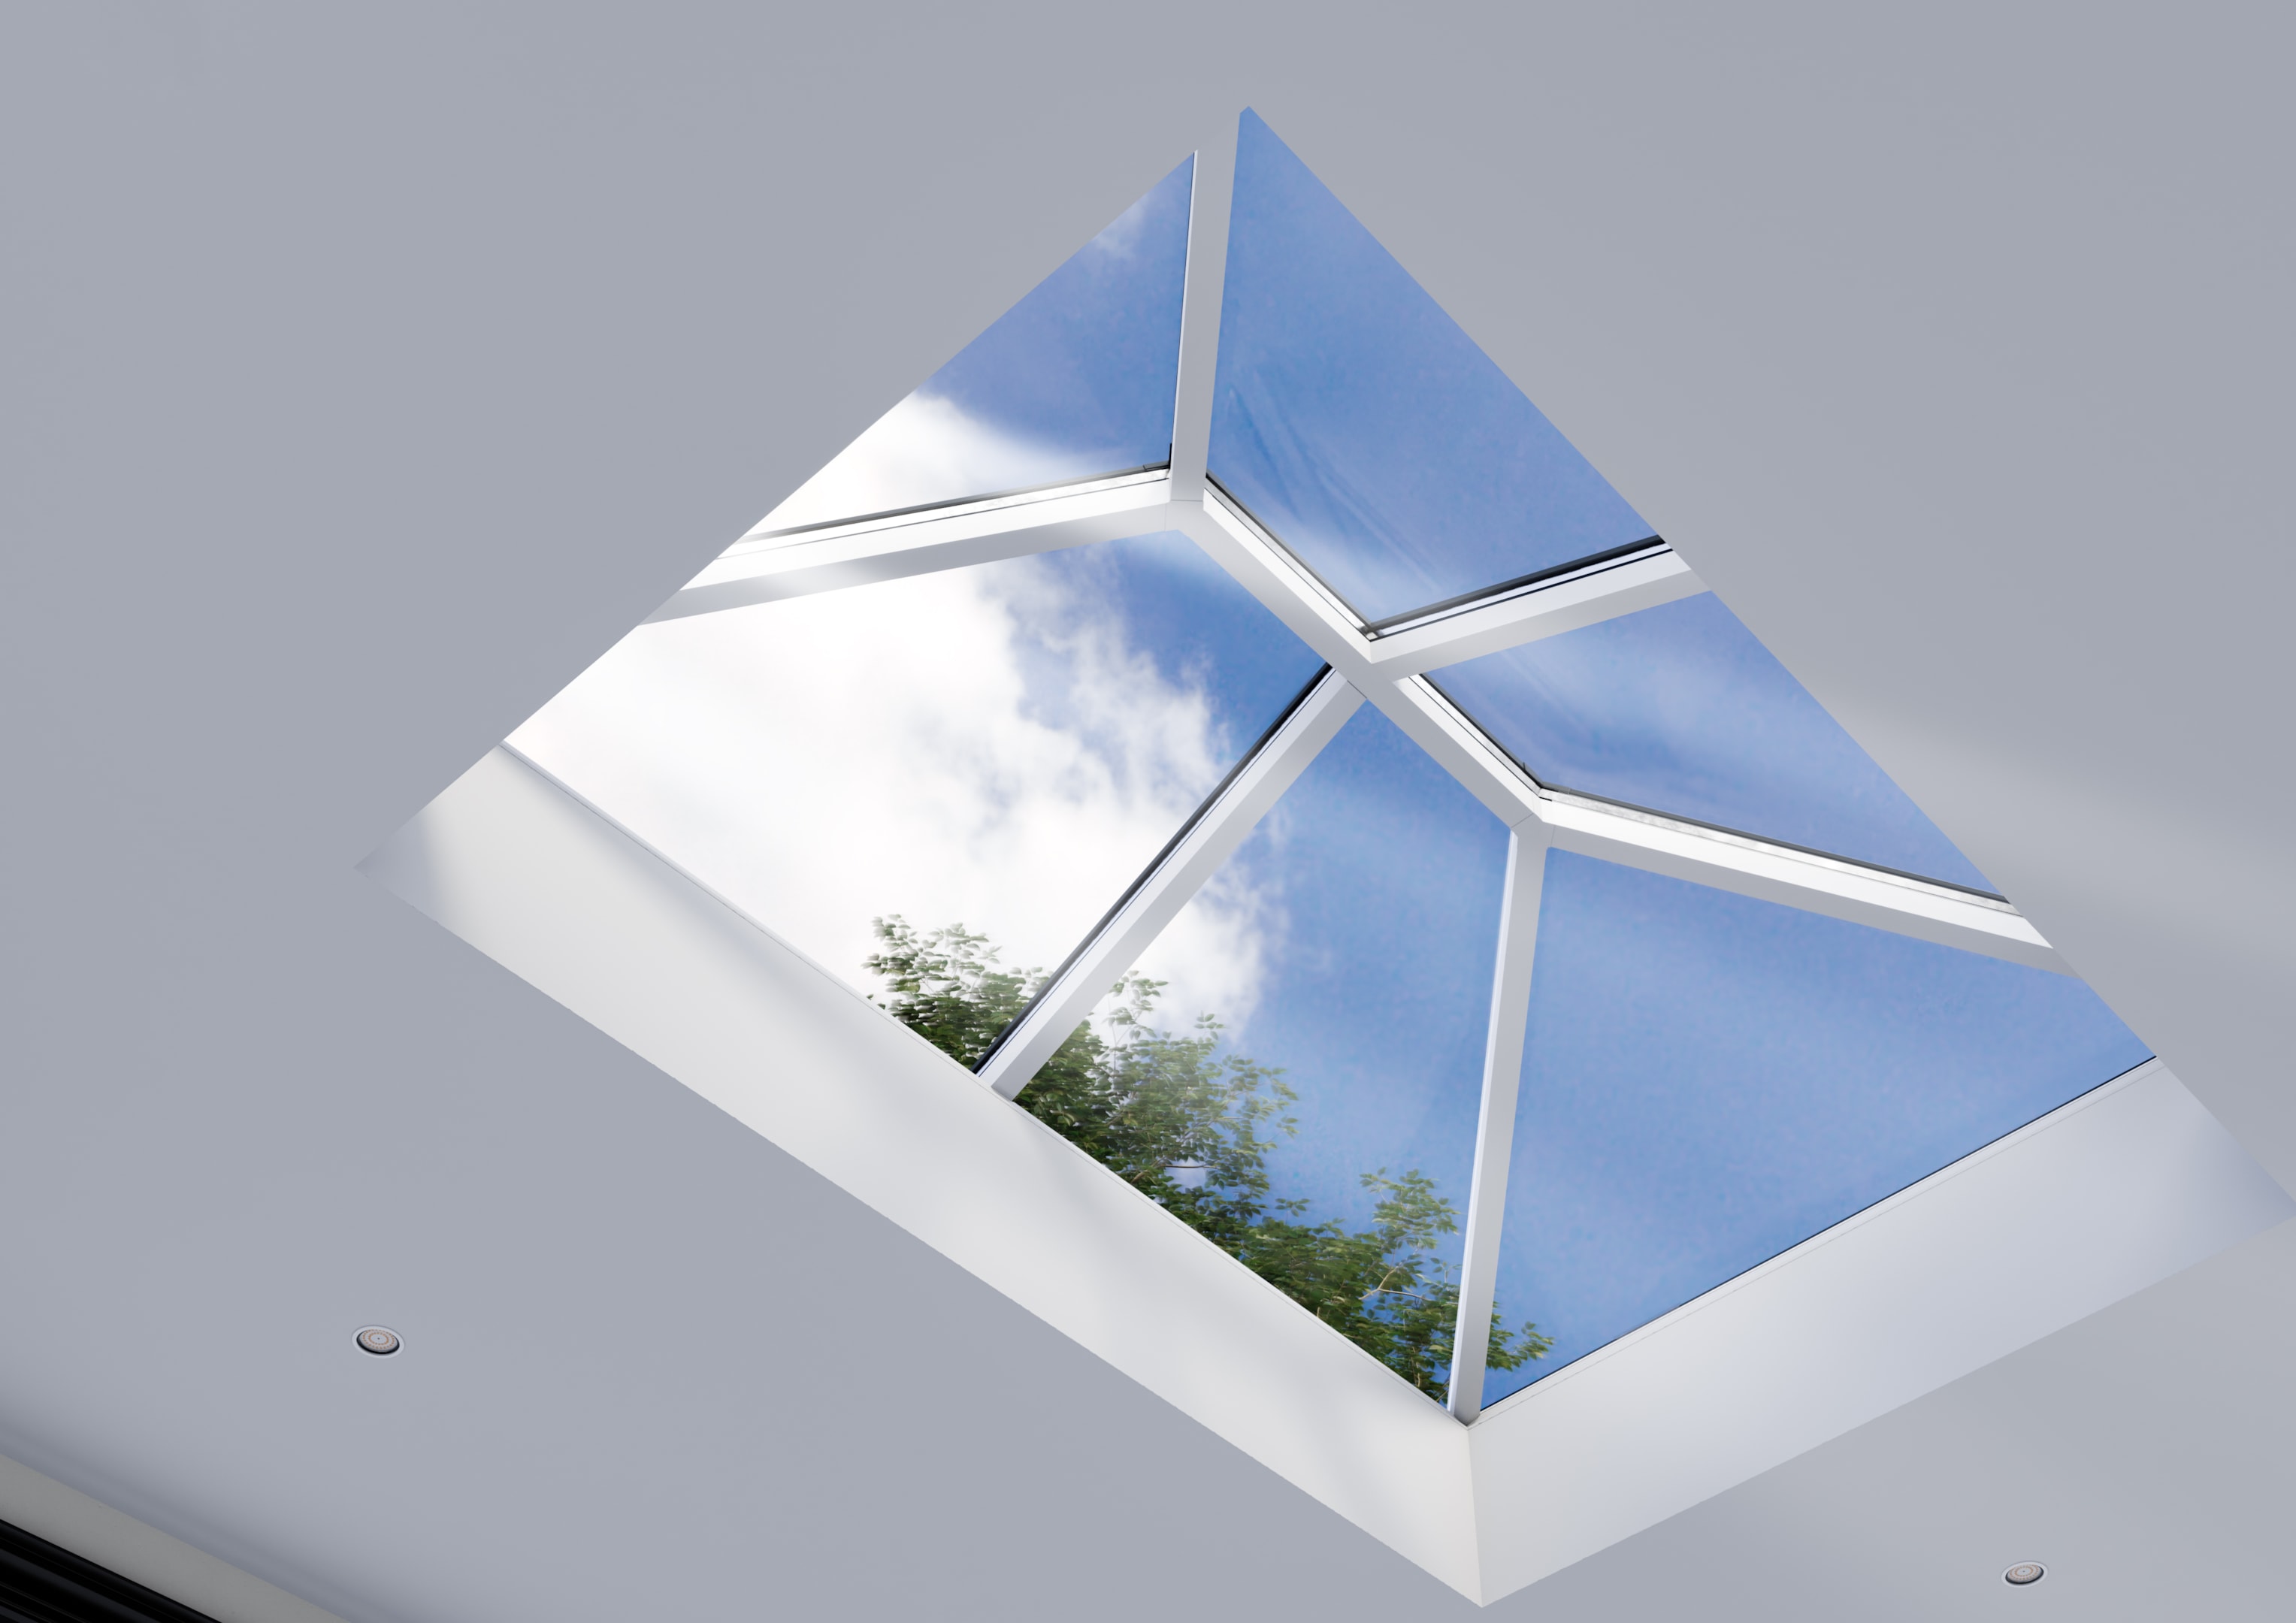
These striking glazing features have become increasingly popular in modern renovations and extensions, and with good reason. They bring in natural light, create a sense of space, and can dramatically enhance the look and feel of a room. Roof lanterns also allow you to enjoy stunning views of the night sky, adding a unique visual experience to your living space. But a question we often hear is: how long does it take to fit a roof lantern?
Factors That Influence Installation Time
Fitting a roof lantern can vary in duration depending on the complexity of the job, the size of the unit, and the experience of the installer. The size roof lantern you choose will significantly impact how long the fitting process takes, as larger or custom-sized lanterns may require more time and effort to install. Here are the main variables that determine how long the process will take:
1. Size and Shape of the Roof Lantern
Naturally, the bigger the lantern, the longer it will take to install. Larger lanterns can provide the maximum amount of natural light to your space, but may also require more time for handling, positioning, and sealing. A small rectangular lantern may be a simple two-person job, whereas a large multi-pane structure might require extra time for installation. Similarly, more complex shapes such as pyramids or multi-hipped designs will take longer than basic rectangular forms.
2. The Design of the Product
This is a major factor. Some roof lantern systems are designed with installer efficiency in mind, while others are more traditional and time-consuming to assemble. Features such as pre-fitted gaskets, simple joint systems, or clip-in components can make a huge difference in the time it takes to complete the job.
We design our roof lanterns for speed and simplicity. When a competent professional installs them on a properly prepared roof, they can complete the fitting in as little as 25 minutes.
3. Site Access and Preparation
A well-prepared site can drastically cut down on installation time. Is there clear access to the roof? Is the upstand already in place and weatherproofed? Are all the tools and fixings ready to go? Installers can work more quickly and safely when these conditions are met.
Delays often happen when installers have to wait for other trades to finish, or when extra work is required to prepare the roof opening.
4. Installer Experience
As with any building product, experience plays a key role. Installers who are familiar with the product will naturally be faster and more confident during the process. Even with a fast-fit system, someone unfamiliar with it may take a bit longer the first time around.
What’s Involved in Installing a Roof Lantern?
To understand how the time breaks down, it helps to look at what’s actually involved in fitting a roof lantern. Once you have a roof lantern installed, you can enjoy increased natural light, improved home aesthetics, and a transformed living space.
Step 1: Preparing the Upstand
Before the roof lantern can be installed, a raised upstand (or kerb) needs to be built. This provides a solid, weatherproof base and ensures the lantern is elevated above the roof surface to allow for drainage. It is essential to ensure that both the upstand and the supporting roof structure are structurally sound before proceeding, to maintain safety and stability. If the upstand has already been constructed to the correct specifications, the installer can move straight to the next step.
If not, building the upstand can take a few hours, depending on the materials and design.
Step 2: Lifting the Lantern into Place
Two installers can usually lift small roof lanterns by hand and position the frame, glazing, and windows onto the upstand. For larger units, you’ll need specialist lifting equipment to move the product safely and securely into place.
The speed of this step depends on the size of the lantern and the accessibility of the roof area.
Step 3: Assembly and Fixing
This is where the quality of the product really matters. Some roof lanterns require lengthy assembly on-site, aligning rafters, bolting components, inserting gaskets, and so on. Some manufacturers design their systems to assemble quickly and intuitively, using minimal fixings and clear instructions.
Our system uses components that fit together quickly and securely, so you won’t need any specialist tools. Pre-fitted gaskets and simplified joints mean there’s no time lost messing around with fiddly parts. That’s how installation times can be as short as 25 minutes.
Step 4: Glazing
Depending on the design, glazing may be fitted before or after the main frame is in place. Pre-glazed units can speed up the process considerably, though they may be heavier to lift. If you install the glazing on-site, how quickly you finish depends on how you secure the glass. Systems that use dry-glazing or clip-in bead technology let you work faster than those that rely on silicone sealing or manual adjustments.
Step 5: Sealing and Finishing
Once the roof lantern is assembled and glazed, the perimeter is sealed and the external trims or cappings are fitted. A clean, watertight finish is essential for long-term performance, so even with a quick-fit system, installers should take care to seal joints properly. This sealing process is similar to fitting a roof window, where proper integration with the roof covering is crucial to prevent leaks.
Benefits
A shorter installation time doesn’t just mean less hassle, it means real, tangible benefits for both homeowners and installers.
- Less disruption: The quicker the lantern goes in, the less impact it has on the rest of the build schedule.
- Reduced labour costs: A 25-minute install compared to a 4-hour job can save a significant amount in labour.
- Lower risk of weather delays: The faster the unit is in and sealed, the less time the property is exposed to the elements.
- More efficient projects: Builders and installers can complete more work in less time without compromising on quality.
A roof lantern also provides more light and extra light, making rooms brighter and reducing reliance on artificial lighting. Improved insulation from modern roof lanterns can help lower heating bills, especially during the winter months, by keeping warmth in and cold out.
Final Thoughts
So, how long does it take to fit a roof lantern? The honest answer is: it depends, but it doesn’t have to take long.
With traditional systems, installation might take several hours, especially if the design is complex or the installer is unfamiliar with the product. But with a well-designed, installer-friendly system, you can go from a prepared upstand to a fully fitted roof lantern in as little as 25 minutes. That kind of efficiency makes a big difference on site, and helps ensure every project runs more smoothly, more safely, and more professionally.
If you’re looking for a high-quality roof lantern that’s as quick to install as it is stylish, we’ve got you covered here at Lantern Superstore. Interested in finding out more? Speak to our team on sales@lanternsuperstore.co.uk today!


